A little something lacey

Posted by on | | 0 comments
This project was the combination of two things I found that I really liked. The first was this tutorial that I pinned ages ago (so long ago, I can't even find the pin in my massive DIY folder, hah).


I loved the design, and it was very straightforward, even if some parts were a little bit fiddly. It took my four hours, and another hour to cut out the pieces. Note to self: ask for a cutting board for Christmas, because cutting without it SUCKS, especially really big pieces.

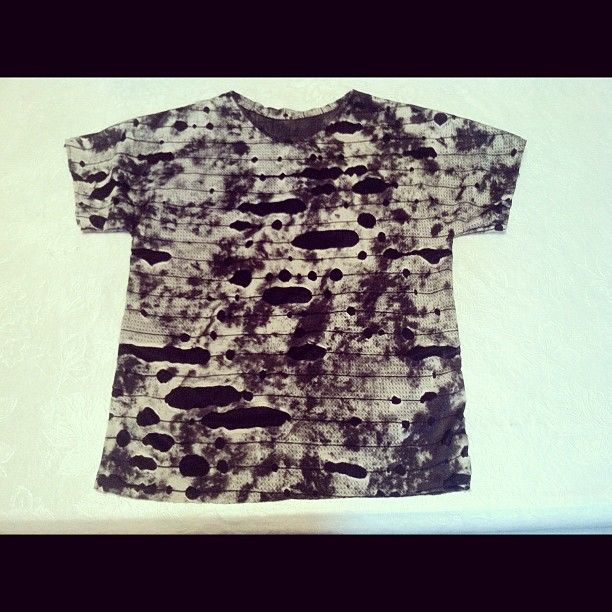
The second inspiration was this Valentino bag, which I pinned because I loved the lace detail. I even labeled it with, "I bet I could do that."


At first, I looked for a tutorial for a similar bag shape, but most tutorials are for more square/big bags. I found a couple listings on Etsy that were close, but I wanted to do this cheaply, so I opted not to buy one. When I stumbled across my pin from the first cinch bag I liked, I decided to just add the lace and use similar colors and see how it went. A quick evening stop at the fabric store with Micah later, I had all of my material for less than $20. Yay for the Joann's app and their coupons!

And this is my finished piece.


I absolutely LOVE this bag, and I have gotten so many compliments on it. Size is hard to judge in this picture, but it's really humongous, so much space for all my stuff. I actually think it's TOO big for every day use, but it's great on the weekend when I add all of Micah's stuff to it. The lining is a $6 piece of taffeta, which I have never sewn with before, and I am pretty sure I used the wrong type of needle for it. The popping noise and the huge holes left behind were an indication, hah. But it held up wonderfully and I double sewed a line in the bottom to make it as secure as possible. It's also slightly water-resistant, which I thought was great since I often carry a sippy cup and/or wet pants since Micah just finished potty training.

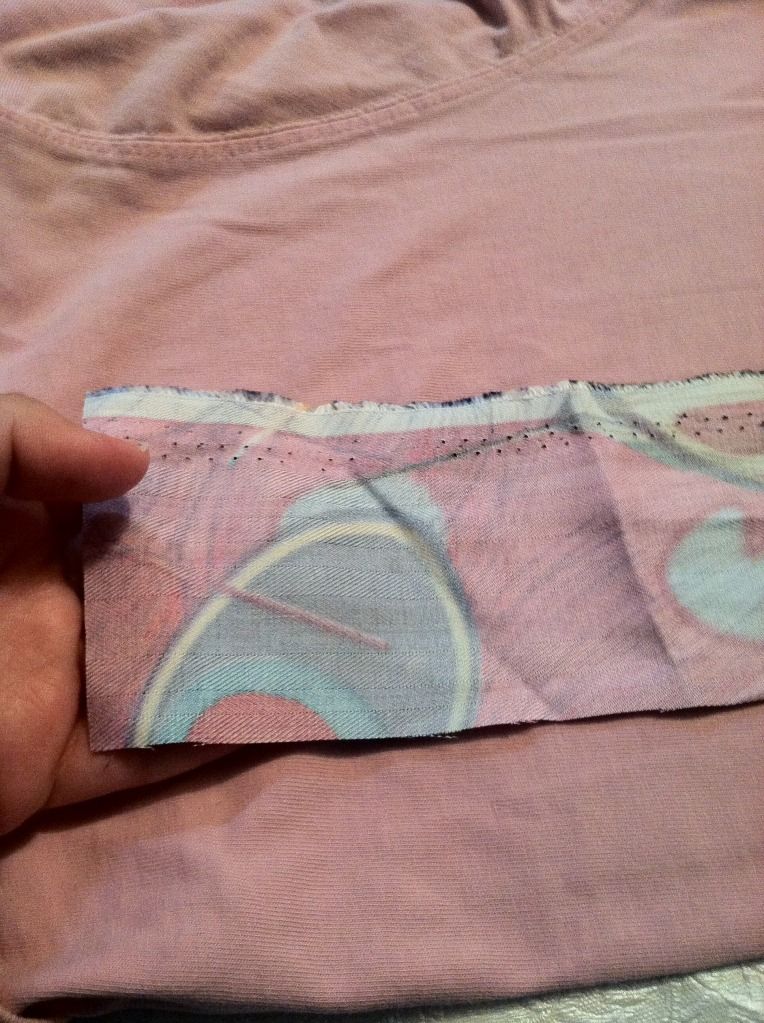
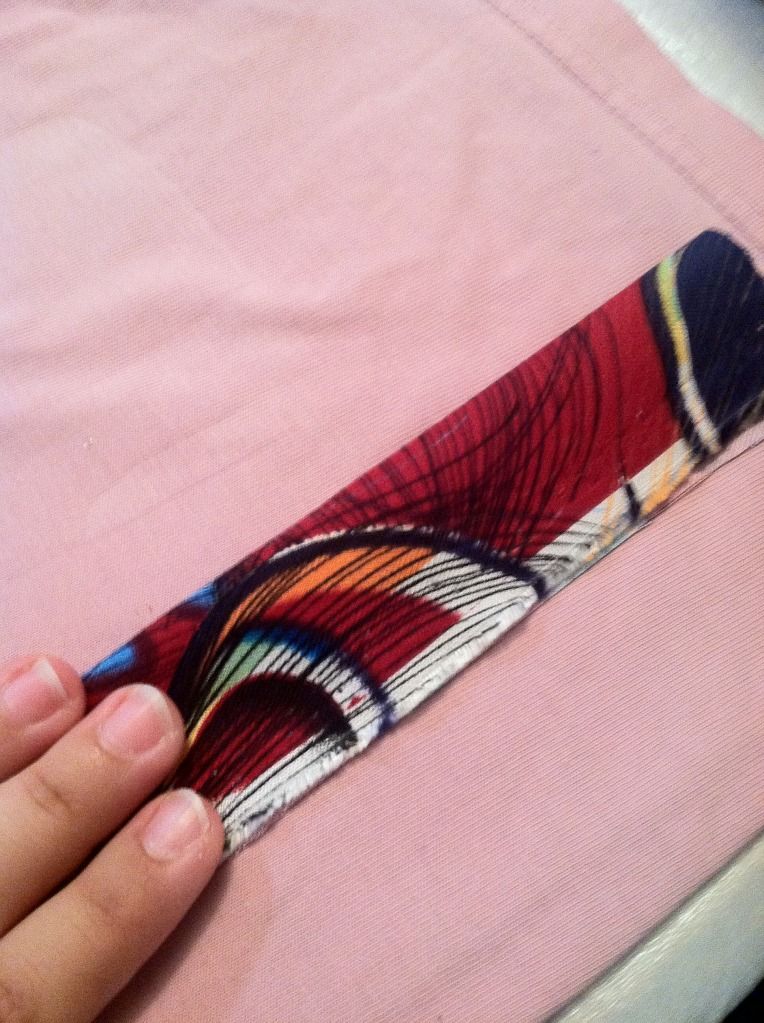
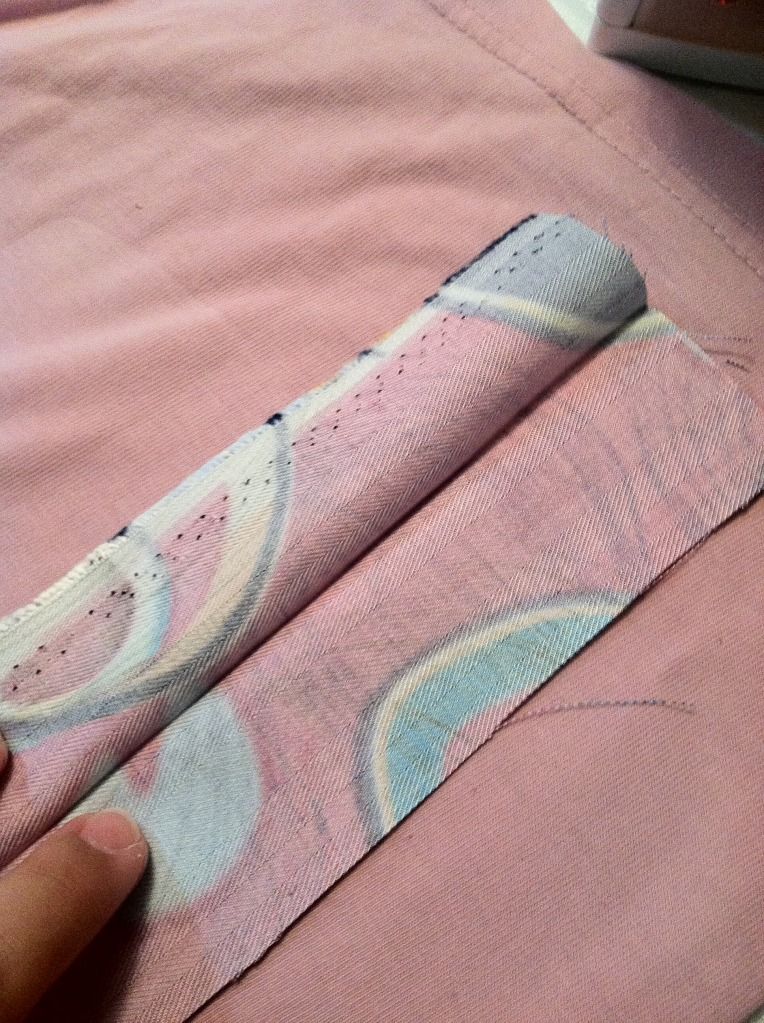
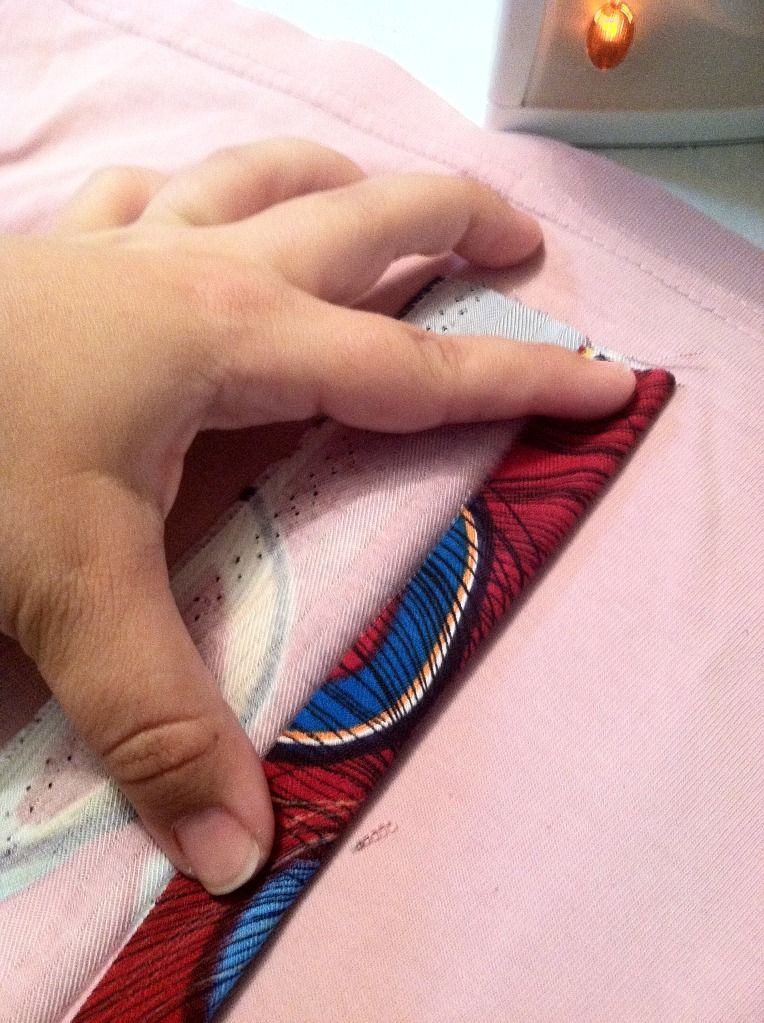
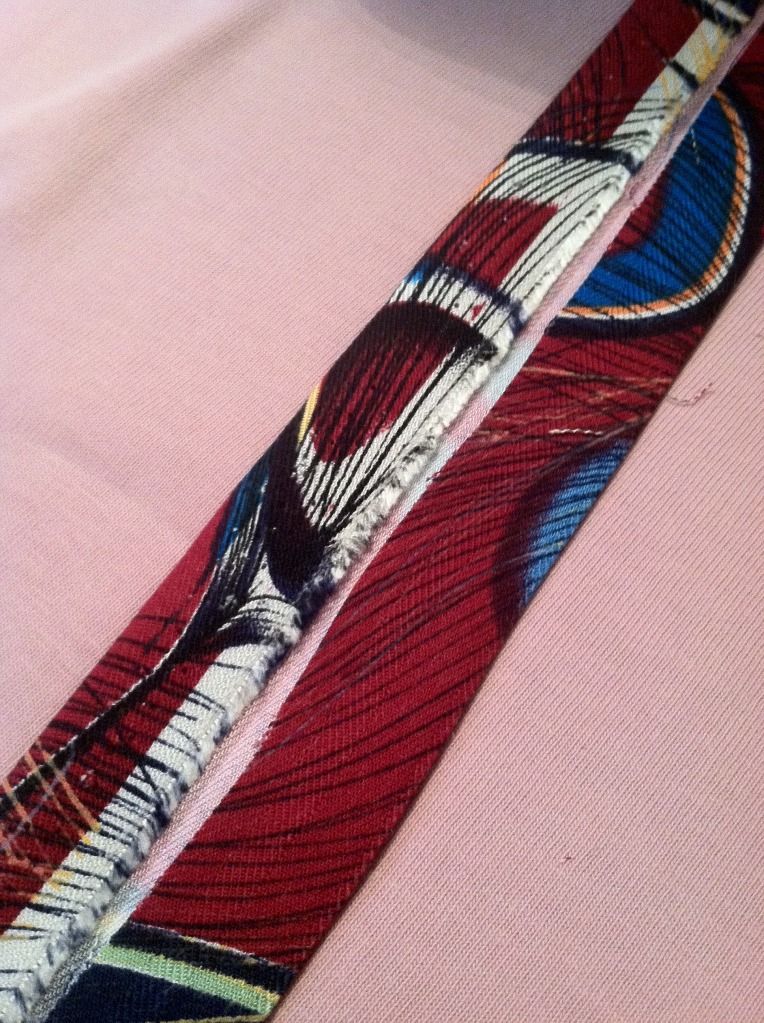
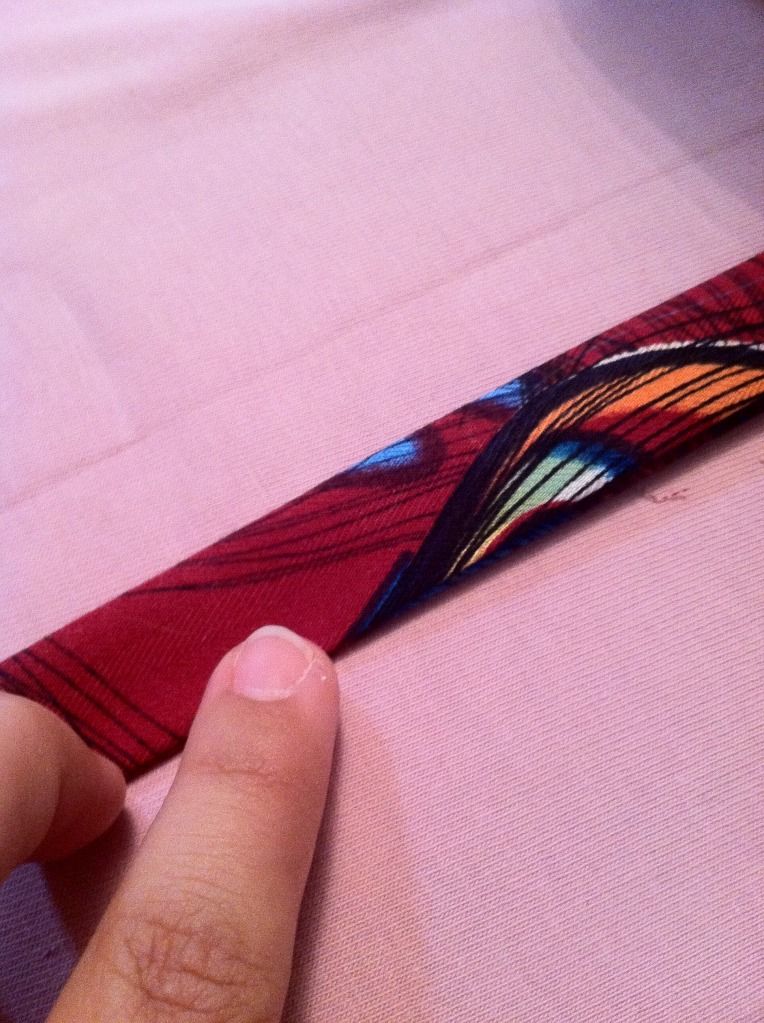
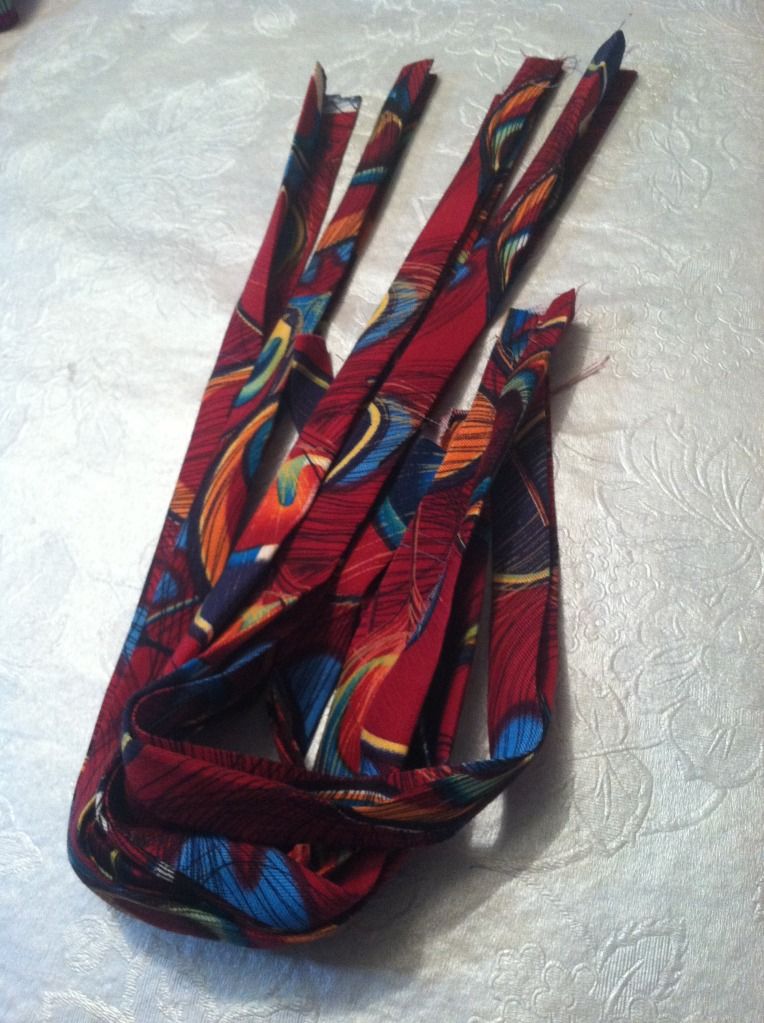
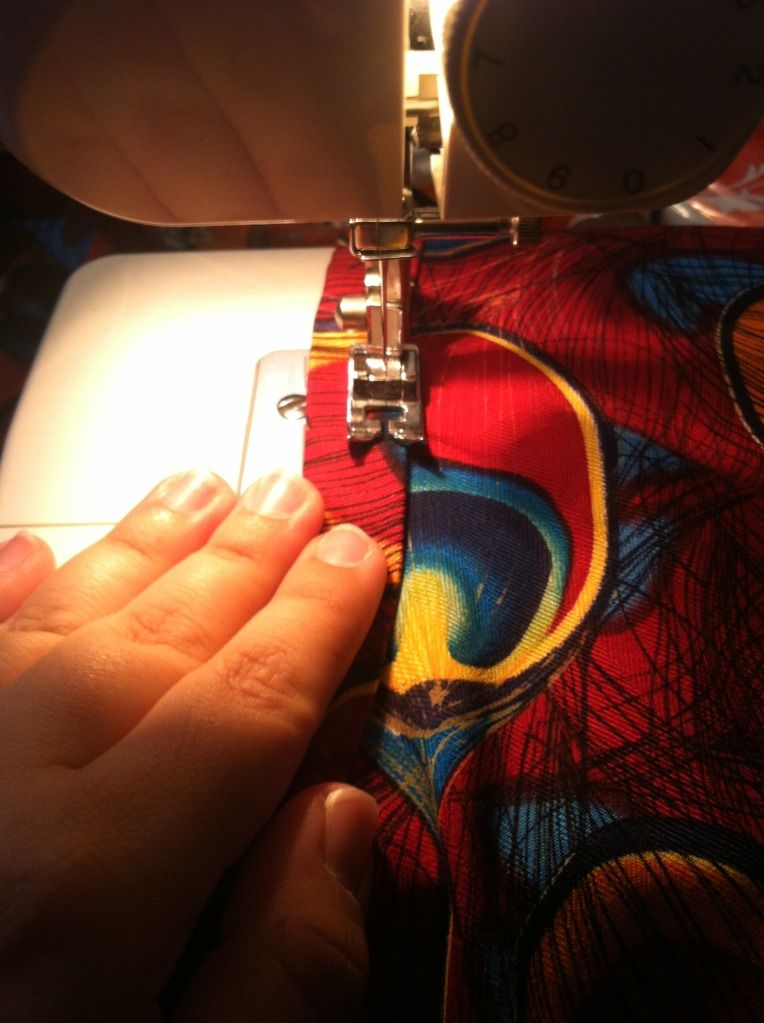
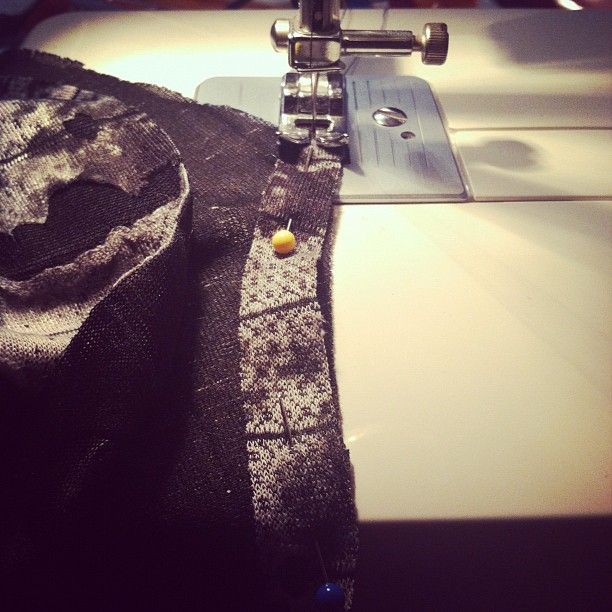
When I bought the lace, I had to buy an entire yard so I would have enough of that pretty edge for both sides. I used a zig-zag stitch - for the first time, can you believe it? - to attach it right at the curved edge, and it was virtually invisible unless you get it right next to your face. I was really proud of it. The whole bag turned out excellent, except for the top stitching on the top edge after I turned it right side out. I didn't think ahead enough and I didn't let the right amount of space to sew without the straps getting in the way. So definitely no close ups of this bag, haha! But for the casual view it really looks good. I've gotten a ton of compliments. I cannot recommend that tutorial enough!

<a target="_blank" href="http://1epicmom.com"><img alt="Weekend Blog Hop" src="http://i1099.photobucket.com/albums/g385/EpicMom/Bloghoptillyoudrop-1.jpg" /></a>

I am so behind - does this little project make up for it?

Posted by on | | 0 comments
I haven't posted here since my 4th of July post. That's just sad, especially since in that time I have finished two really great projects. Time to get off my butt - or as my Micah calls it, my nalgas - and get started.

Awhile back, I picked up some really cute robot print fabric with the intention of making Micah some pants or shorts out of it. It was super cute, and really cheap at only $2 a yard. Following a tutorial off my beloved MADE, I started on this little project.


I hit a snag when I thought I completed messed up my homemade pattern when I went to sew the inner legs together and nothing matched up very well. I had over an inch of overhang on the back piece so the hems didn't match. Thankfully I showed it to my mom, she said that was common and to just sew it as close as I could then trim the unmatched edges. And it worked!


Micah absolutely loved them. His hand just fits in the pocket, though I opted out of the rear pockets/flaps. The only thing I would change is that next time I would try something different with the pockets so that I wouldn't lose two inches of room inside the pocket when I folded over the top to sew in the elastic. Otherwise, they are perfect. Exactly the length I like on him, which is just below the knee. The tutorial is really great, it only took me about two hours total (minus my days of confusion when I reached the final bit before my mom stepped in).

<a target="_blank" href="http://1epicmom.com"><img alt="Weekend Blog Hop" src="http://i1099.photobucket.com/albums/g385/EpicMom/Bloghoptillyoudrop-1.jpg" /></a>

4th of July

Posted by on | | 0 comments
Usually for the 4th of July, my husband's family goes to an empty field near the Balloon Fiesta Park to watch the fireworks without having to fight the crowds. Since Micah was born, however, we haven't done that because my early-to-bed, early-to-rise child just couldn't stay up late enough to enjoy the show. This year wasn't any different, despite my efforts. I even put him down for a late nap and let him sleep for almost three hours so he could stay up later, but by the time 7pm rolled around, he was rubbing his eyes and drooping in front of his cartoons. The moment his little head hit the pillow he was out. Oh, well.

We did get to enjoy the parade in our little village, though. It was a gorgeous day - partly cloudy, and enough of a breeze that the 90+ degree weather was tolerable. The smell of sunscreen and candy, the smell of summertime.


We got there an hour early because the two-lane road running down the center of the village shuts down when the parade starts. Micah sat in the front with me and watched the fire trucks and floats go by to get to the start of the parade, keeping up a running commentary about what people were doing and what they were carrying. He was fascinated by the lawn chairs and hats everyone had.


Grandpa Martinez came and parked next to us (in the driveway of the little blue house we used to live in, where Antonio's brother now lives), and he brought two lawn chairs that he put literally inches from the edge of the road so we could watch. Normally I have to reign Micah in for events like this, but he stood between my knees the entire time, wide-eyed and occasionally speechless. That's always surprising!


Once the "serious" floats pass by at the beginning of the parade (which lasted an hour and a half, crazy long!), everyone breaks out the squirt guns and start a war between the spectators and the people riding the floats. Every year, there's a group of people across the street from the little blue house that bring in huge tubs of water and these guns that have serious range and liberal showers. So not only did we get soaked, but so did Grandpa!

The rest of our day was pretty lazy. We went and got some lunch, came home, blew some bubbles, and then shortly after Daddy got home, Micah passed out. It was a nice day.


How was your 4th?

How to create your own double fold bias tape from scraps

Posted by on | | 0 comments
Now, I will say first thing that I did this out of scraps. So I don't know if it counts as "real" bias tape. Typically, you cut a square of fabric and fold it, point to point, to make a triangle, and then you cut strips and sew them together to make your bias tape. I rarely have the patience or the need to make so much, so when I was working on a little project (which I will hopefully be posting about here soon), I decided on a whim to create my own bias tape from a few excess long pieces I had left over after cutting the main pieces.

Now, part of the reason you cut bias tape on the bias is because of stretch and flexibility. So the type of material you use to try this is going to affect it a great deal. Keep that in mind.

Now, I had two long strips about four inches wide and around two feet long, and one side was the selvedge, which made life a lot easier for me.


Time to break out your iron. Mine is older than I am (probably) and has two settings - hot and hot with steam. Hah. I went with no steam for this, but hot is good because it makes the process faster. Use appropriate settings for the material you're using.

Fold your strip in half and iron it flat, making a sharp crease. Then open it up to see that crease, wrong side up.


Fold one side in so the raw edge meets the crease in the middle, and iron it to make another sharp crease on that side.


Repeat on the other raw edge.


Now fold it in half on the original crease, and iron it one more time. I usually put a little more weight on my iron when I get to this point to make sure all three creases are sharp and defined.


Rinse and repeat until you have the amount of bias tape you need, or you run out of scraps. Admire your handiwork.


And then you can use it just like store-bought tape.


And that's it! Have fun!

He's baaaack!

Posted by on | | 0 comments
Thank goodness for Skype. It saved me a lot of lonesome afternoons home alone without my little monkey. He had a BLAST in Kansas with my family, who spoiled him rotten, played with him until he literally passed out every night, and bought him so much clothes he probably won't have to wear anything I bought or made him for weeks.


You might recall a post I made last week about how much free time I was going to have this past week to work on sewing projects. Wanna guess how many got finished?

If you guessed zero, you'd be right. But I did get a few things done that were just for fun and all but one turned out exactly like I wanted. Let's not talk about the one that I failed so badly at. I think I wasted some really lovely fabric. But back to the good and less ugly!

On Saturday I went to Joann's on a whim with my husband and he chose this really cool knit fabric to make Micah a shirt out of. It's a thin black mesh with a layer of striped grey knit on top that has little holes torn all over it to display the mesh. Hard to describe, cool to look at. I whipped up a little shirt for him in about 20 minutes by folding a shirt I already knew fit him in half and then tracing around it, sleeves and all. So I cut only two pieces and sewed them together, and hemmed the sleeves. I didn't hem the bottom because it's knit and won't fray, but I think I might hem it a little since it was a tad long on him. I also cut two quarter inch strips and sewed them inside the collar instead of making a "real" collar.


That last one was taken by the conductor of the little train that runs in our local mall. He absolutely LOVED the ride, especially when they played Choo Choo Soul over the speakers. I think he has a little crush on Genevieve.