Now, part of the reason you cut bias tape on the bias is because of stretch and flexibility. So the type of material you use to try this is going to affect it a great deal. Keep that in mind.
Now, I had two long strips about four inches wide and around two feet long, and one side was the selvedge, which made life a lot easier for me.
Time to break out your iron. Mine is older than I am (probably) and has two settings - hot and hot with steam. Hah. I went with no steam for this, but hot is good because it makes the process faster. Use appropriate settings for the material you're using.
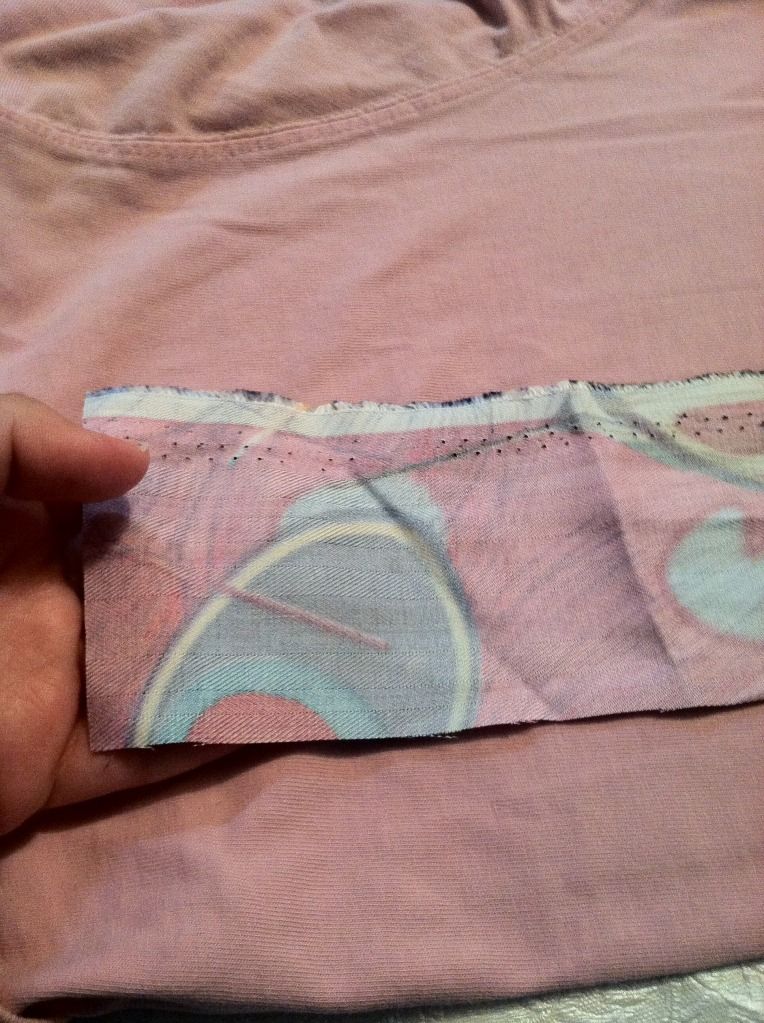
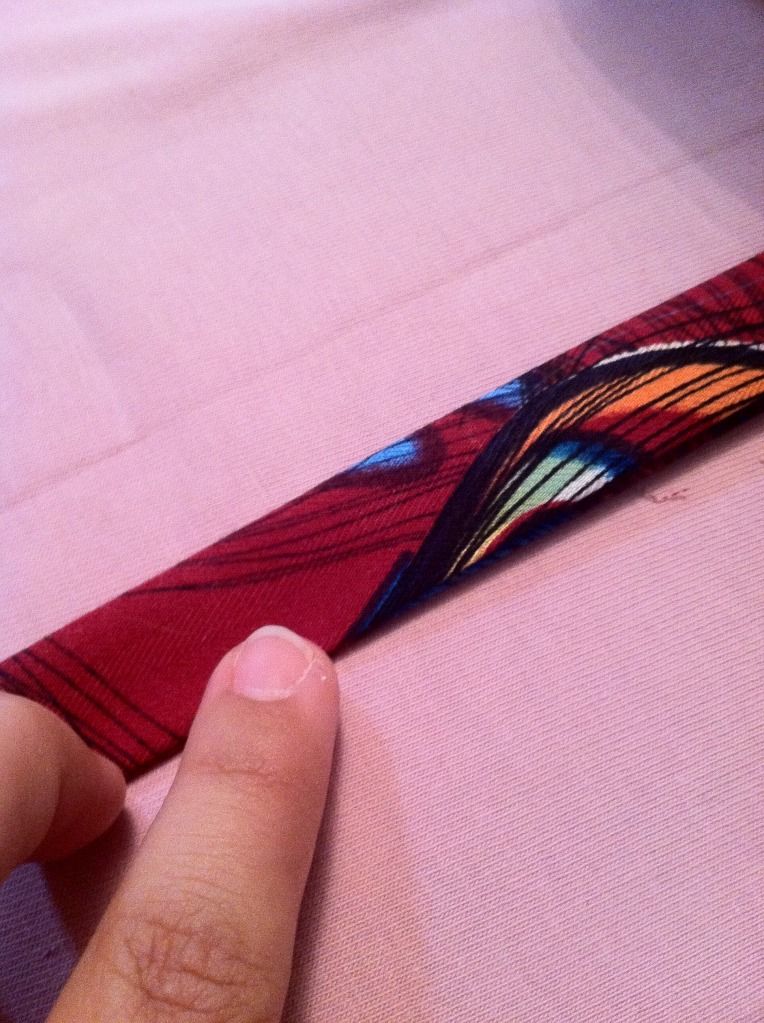
Fold your strip in half and iron it flat, making a sharp crease. Then open it up to see that crease, wrong side up.
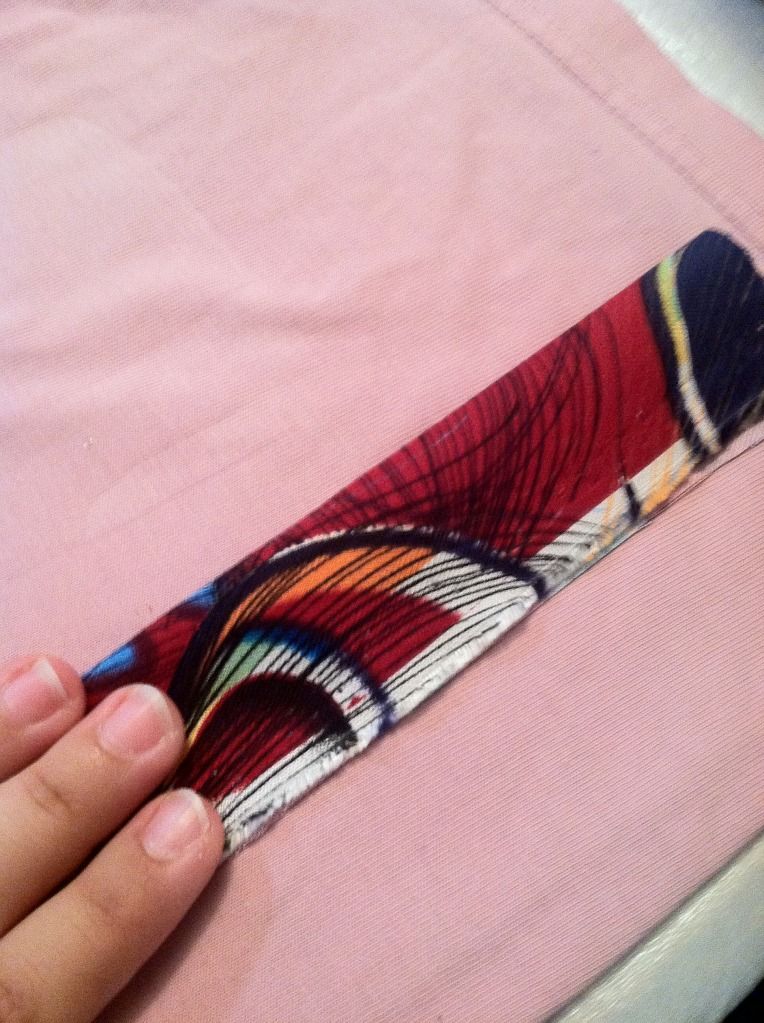
Fold one side in so the raw edge meets the crease in the middle, and iron it to make another sharp crease on that side.
Repeat on the other raw edge.
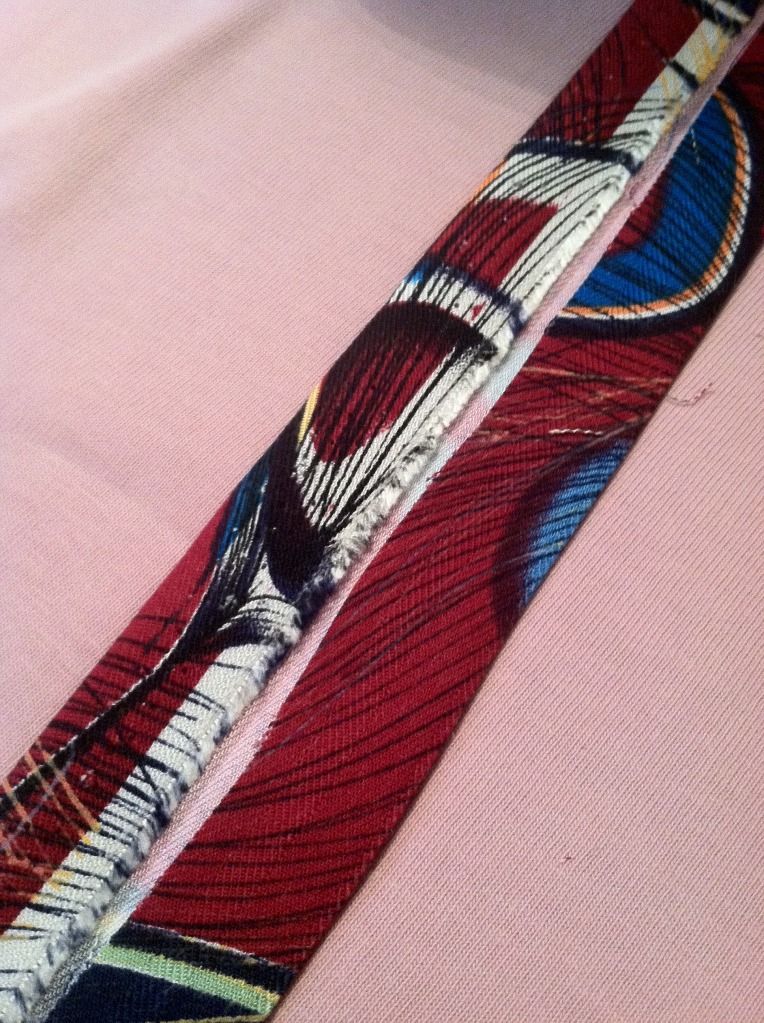
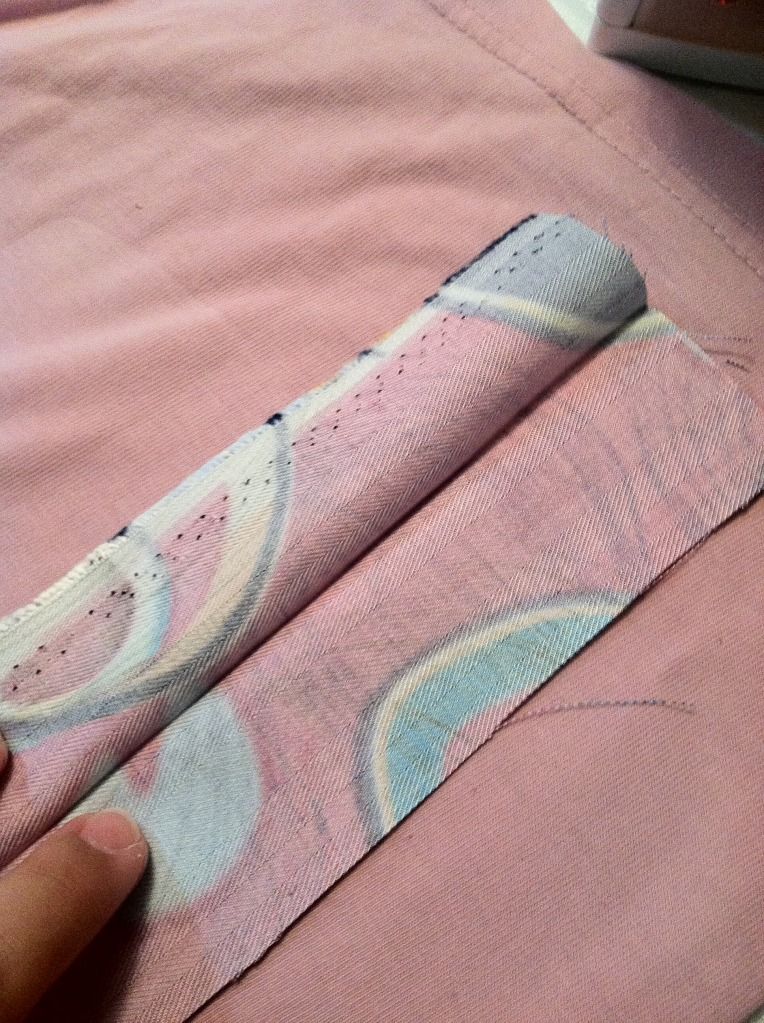
Now fold it in half on the original crease, and iron it one more time. I usually put a little more weight on my iron when I get to this point to make sure all three creases are sharp and defined.
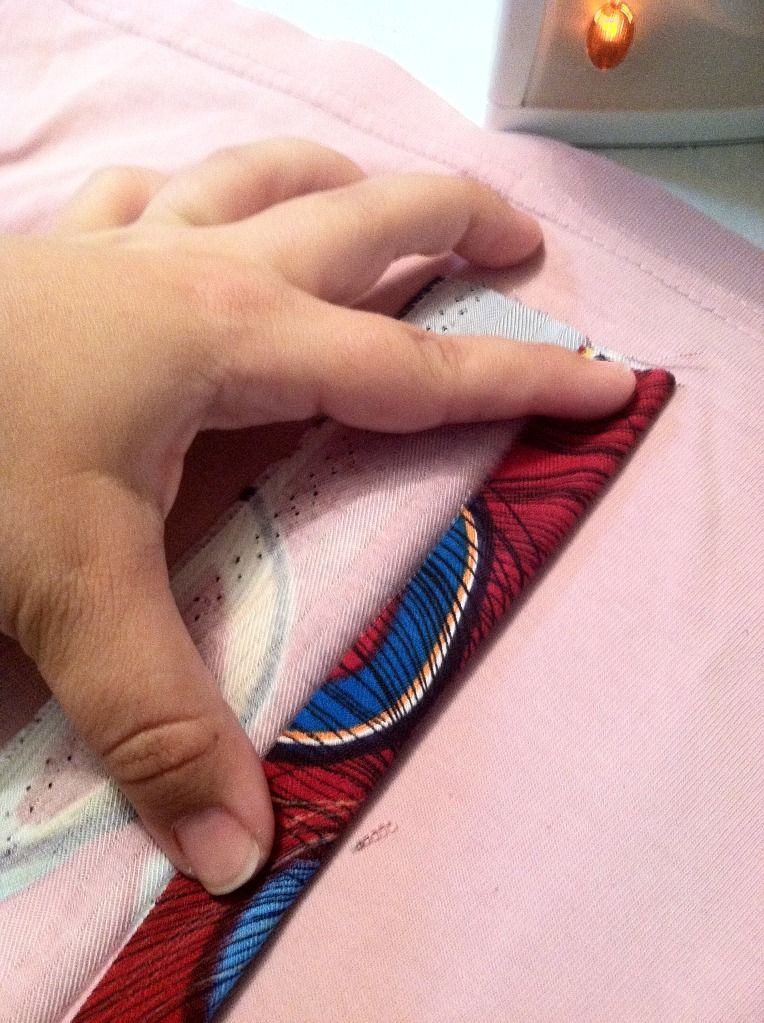
Rinse and repeat until you have the amount of bias tape you need, or you run out of scraps. Admire your handiwork.
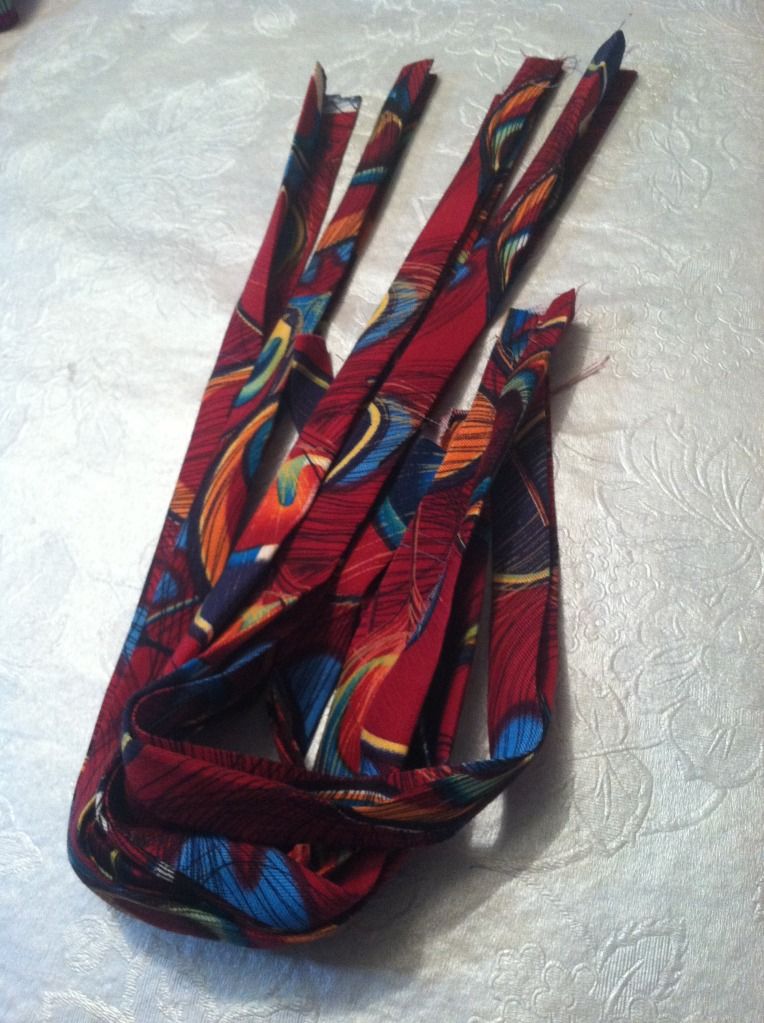
And then you can use it just like store-bought tape.
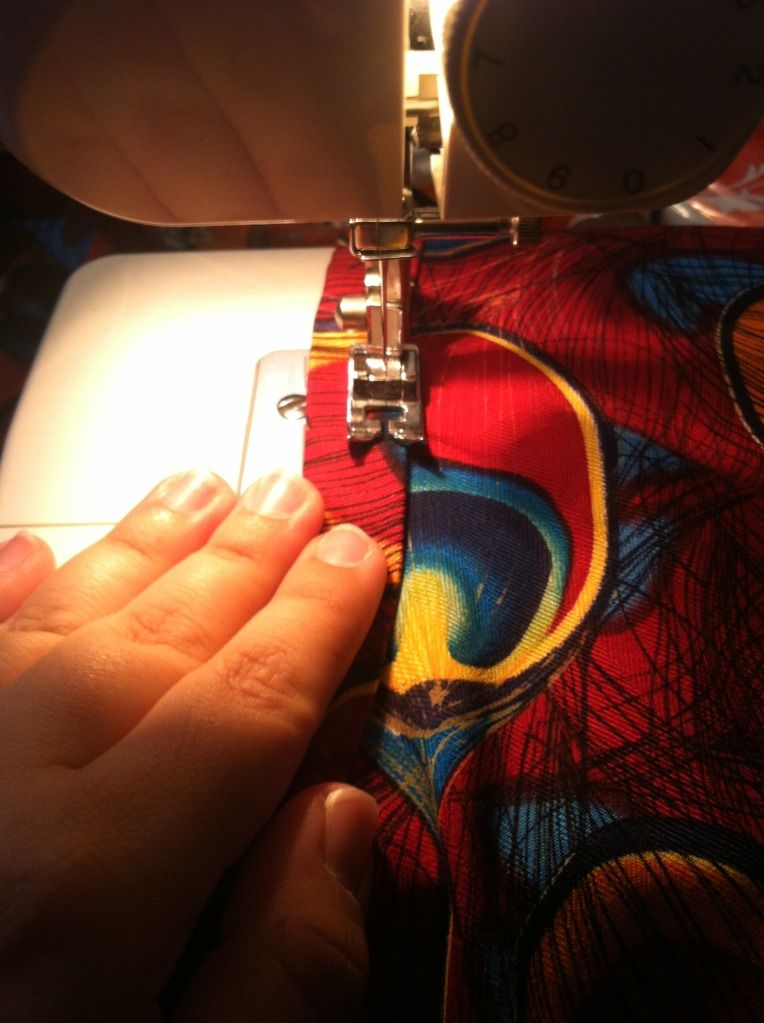

And that's it! Have fun!

0 comments:
Post a Comment